Nullam dignissim, ante scelerisque the is euismod fermentum odio sem semper the is erat, a feugiat leo urna eget eros. Duis Aenean a imperdiet risus.
Nullam dignissim, ante scelerisque the is euismod fermentum odio sem semper the is erat, a feugiat leo urna eget eros. Duis Aenean a imperdiet risus.
 author
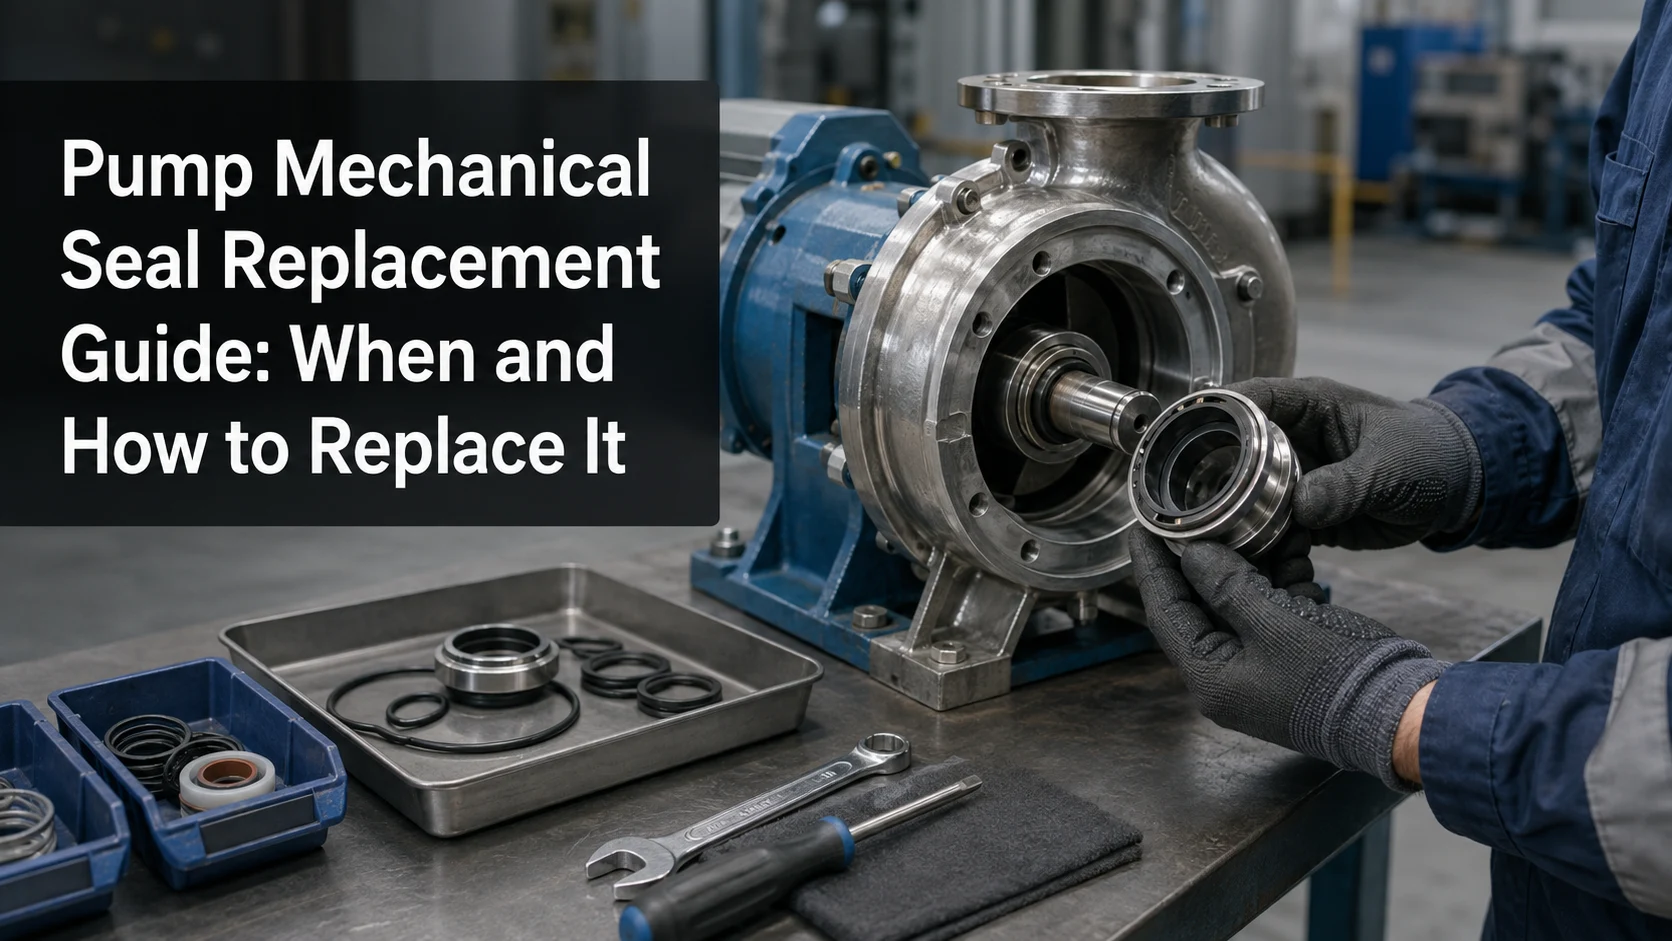
Pump mechanical seal replacement is appropriate when inspection shows that the seal itself is damaged, worn beyond serviceable condition, or no longer suitable for the duty. Do not treat every leak as proof that the seal must be replaced. A loose fitting, blocked flush line, worn bearing, shaft runout, pipe strain, cavitation, or incorrect installation can produce the same symptom and can quickly damage a new seal.
For industrial pumps, a sound replacement job has three parts: confirm the failure mechanism, select a seal that matches the pump and process, and reinstall it under controlled conditions. The steps below provide a practical framework, but the pump manual, seal drawing, site safety procedure, and qualified maintenance personnel remain the controlling references.
A replacement decision should be based on evidence collected before the pump is dismantled. Record the leakage location and rate, operating state, temperature, vibration, noise, seal-support readings, previous service life, and any recent process change. Photographs taken before cleaning can preserve deposits and leak paths that would otherwise disappear.
If the shaft sleeve is grooved, bearings are loose, alignment is poor, or shaft runout and axial movement exceed the equipment limits, repair the pump first. Also investigate dry running, trapped vapor, inadequate cooling or flushing, deadheading, operation far from the intended duty point, and process solids that collect around the springs or faces. Installing an identical seal without removing the cause often repeats the failure.
Begin with the pump manufacturer, complete model, serial number, pump type, and existing seal part number. Then verify the actual installation. Previous repairs may have changed the sleeve, gland, chamber, or seal arrangement, so an old part number is not always conclusive.
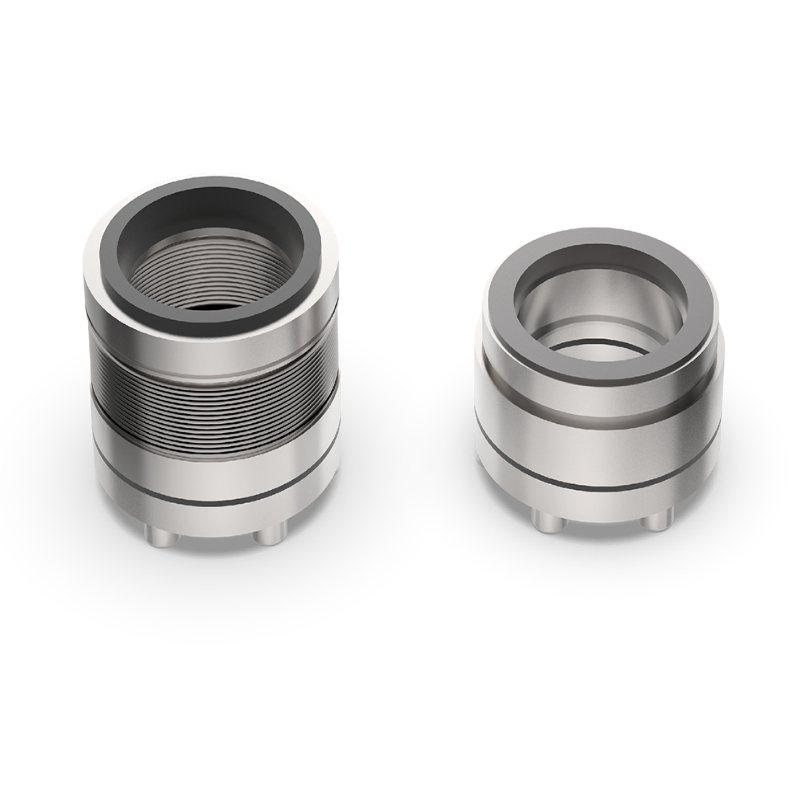
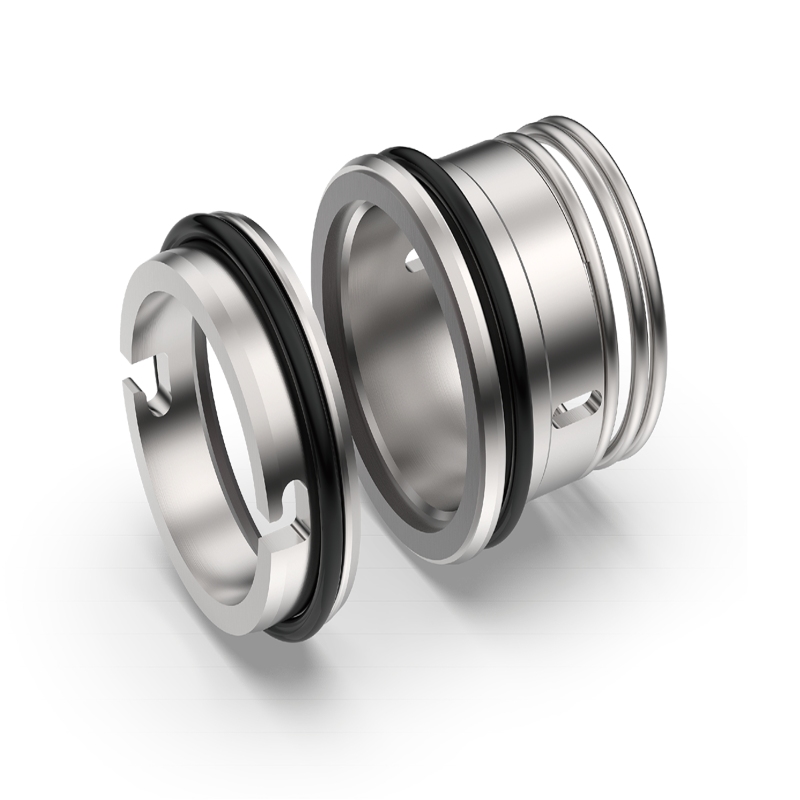
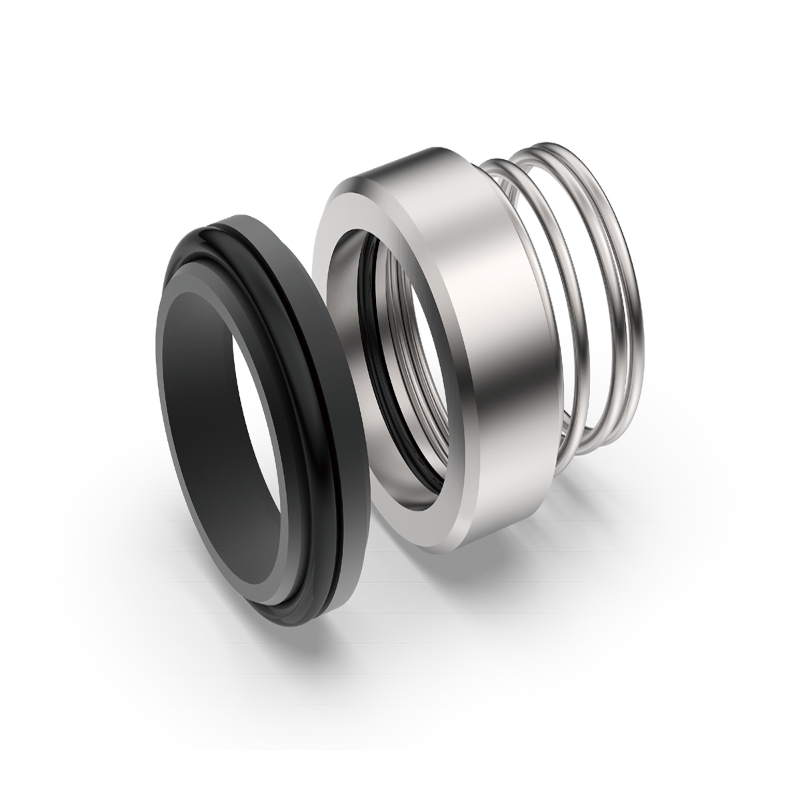
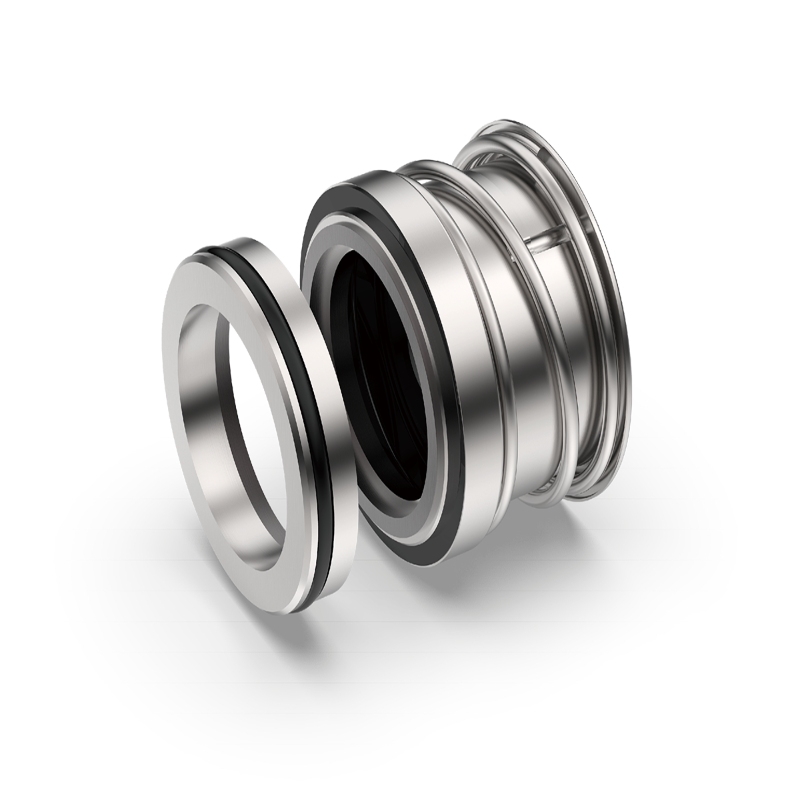
For product-fit discussions, review Xinyoumi’s pump mechanical seal range and use the replacement RFQ checklist to assemble identification, dimensions, operating data, failure evidence, and purchasing requirements.
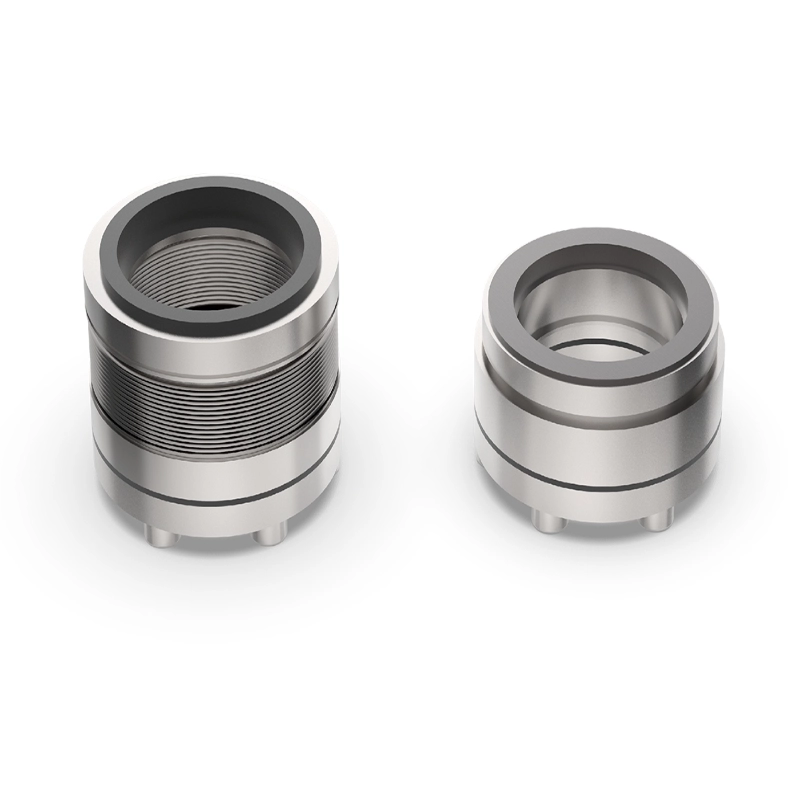
The exact disassembly order and seal-setting method vary by pump and seal design. The following sequence is a general industrial procedure, not a substitute for the manufacturer’s instructions.
Stop the equipment and apply the site’s lockout/tagout procedure to every energy source. Close and secure process valves, depressurize, drain, flush, cool, and decontaminate the pump as required by the medium. Verify zero energy and a safe atmosphere before opening the casing. Mark coupling position, rotation, and external piping; protect dismantled parts from dirt and impact.
Follow the pump manual to remove guards, coupling elements, the wet-end assembly, impeller, gland, and seal components. Do not pry against critical faces or use the shaft as a lever. Keep rotary and stationary parts together, mark their orientation, and photograph the wear pattern. Preserve broken pieces and elastomers for failure review.
Clean the chamber, gland, shaft, and sleeve with methods compatible with the materials. Inspect the sleeve for grooves and corrosion, the seal chamber for deposits, and the impeller and casing for rubbing or cavitation damage. Check bearing condition, shaft movement, runout, alignment, and support piping against the pump and seal specifications. Correct defects before installing the new seal.
Compare the replacement with the approved drawing and old assembly: dimensions, materials, rotation, port locations, and setting clips must agree. Use clean gloves and keep lapped faces free of fingerprints, grit, and scratches. Lubricate elastomers only with a product permitted by the seal manufacturer and process; incompatible oils or grease can swell the elastomer. Press stationary components squarely with even force and use the specified setting dimension or cartridge clips.
Reinstall the impeller and casing in the specified sequence and apply documented fastener torques. Reconnect flush, cooling, quench, drain, or barrier lines to the correct ports. Restore coupling alignment after piping is connected, since pipe strain can move the pump. For cartridge seals, remove setting clips only at the point specified by the seal instructions, and retain them for future maintenance.
Prime and vent the pump before rotation unless the approved design specifically permits dry operation. Establish the seal-support system first where required. Rotate the shaft by hand when the procedure permits, reinstall the guard, and start under controlled conditions. Observe leakage, temperature, vibration, noise, pressure, flow, and support-system levels. Stop the pump if readings are abnormal; do not try to run in a damaged or incorrectly installed seal.
Immediate leakage often indicates damaged faces or elastomers, contamination between the faces, a stationary seat installed out of square, incorrect working length, wrong rotation, a loose fitting, or failure to prime and vent. Leakage that appears after hours or days may point to alignment, runout, bearing condition, thermal distortion, blocked support flow, process incompatibility, or an operating upset.
A repeatable maintenance program records each failure mode, service interval, pump condition, installed seal construction, and corrective action. This history separates random damage from recurring application problems. For an unknown, obsolete, or repeatedly failing seal, use mechanical seal selection and project support rather than ordering from shaft diameter alone.
Xinyoumi supplies pump mechanical seals and uses modular designs in relevant product families, which can simplify replacement-part planning where the selected model and operating conditions are verified. Availability, interchangeability, materials, dimensions, and duty limits should be confirmed for the specific application.
A successful pump mechanical seal replacement starts before the old seal is removed. Confirm that the seal is the failed component, preserve evidence, correct pump or process defects, and verify the replacement against both dimensions and operating conditions. Clean handling, correct setting, aligned reassembly, proper support-system operation, and a controlled startup determine whether the repair delivers stable service.
For a fit check or quotation with Xinyoumi, contact the technical team with the pump model, seal drawings or measurements, medium, pressure, temperature, speed, failure photographs, required quantity, and any support-system details.
No. External connections or support-system faults may be repairable, but cracked faces, damaged elastomers, worn drive parts, or loss of spring function normally require seal replacement or an approved rebuild.
Only when the pump configuration and installed dimensions are verified. Repairs, sleeves, glands, and prior conversions can make the current installation different from the original bill of materials.
Avoid touching lapped faces. Handle them with clean gloves, keep them protected from grit and scratches, and clean them only as directed by the seal manufacturer.
Monitor it during the controlled startup and again after operating conditions stabilize. Site procedures should define follow-up checks for leakage, temperature, vibration, support-system status, and fastener or alignment concerns.